DIY Patio Sling Upgrade: 7 Amazing Transformations for Your Outdoor Space
A DIY Patio Sling Upgrade can breathe new life into your outdoor furniture, transforming worn-out chairs into stylish, comfortable pieces. Instead of discarding perfectly good frames, you can revitalize your patio space with a fresh look and enhanced durability. This process is not only cost-effective but also offers a rewarding sense of accomplishment as you customize your outdoor oasis.
This comprehensive guide will walk you through every step of the process, from selecting the right materials to tackling common challenges. You will discover how simple tools and a little patience can lead to stunning results, making your patio the envy of the neighborhood. Prepare to unlock the full potential of your outdoor living areas with these amazing transformations.
Key Takeaways
- Understand the significant benefits of a DIY Patio Sling Upgrade, including cost savings and environmental advantages.
- Learn to identify the essential tools and the best fabric types for a successful and long-lasting patio chair renovation.
- Master the step-by-step process of replacing a patio chair sling, ensuring a taut and professional finish.
- Discover how to measure accurately and avoid common pitfalls, making your upgrade project smooth and efficient.
- Explore 7 amazing transformations that a simple sling replacement can bring to your outdoor furniture and overall patio aesthetic.
What is a DIY Patio Sling Upgrade?
A DIY Patio Sling Upgrade involves replacing the fabric sling on your existing patio chairs, chaises, or dining chairs. This project allows you to refresh the look of your outdoor furniture without the expense of buying entirely new pieces. It is an excellent way to extend the life of sturdy frames that are still in good condition but have worn, faded, or torn fabric.
Many homeowners choose this route because it is a cost-effective and environmentally friendly alternative to purchasing new furniture. Instead of contributing to landfill waste, you are giving your beloved outdoor items a second chance. The process is manageable for most DIY enthusiasts and can significantly enhance your outdoor living experience.
By undertaking a DIY Patio Sling Upgrade, you gain complete control over the aesthetic. You can select new fabrics that perfectly match your current decor or introduce a completely fresh color scheme. This level of customization is often unavailable with off-the-shelf furniture, making your patio truly unique.
Essential Tools and Materials for Your DIY Patio Sling Upgrade
Before you begin your DIY Patio Sling Upgrade, gathering the right tools and materials is crucial for a smooth and successful project. Having everything on hand will prevent interruptions and ensure precision in your work. Most items are readily available at hardware stores or online.
You will typically need a screwdriver or power drill for removing and reattaching screws, a measuring tape for accurate dimensions, and a pair of sharp scissors or a utility knife for cutting fabric. A rubber mallet can be helpful for guiding sling rails, and a sling tool or clamp might be beneficial for stretching fabric tautly. Consider safety glasses and gloves for protection.
Choosing the Best Fabric for Your DIY Patio Sling Upgrade
The success and longevity of your DIY Patio Sling Upgrade heavily depend on the fabric you choose. The best fabrics for outdoor slings are designed to withstand harsh weather conditions, UV exposure, and general wear and tear. Look for materials that are durable, fade-resistant, and easy to clean.
PVC-coated polyester and vinyl mesh are popular choices due to their excellent resistance to UV rays, moisture, and mildew. These materials offer good airflow, preventing heat buildup and ensuring comfort. When selecting, consider the weave, colorfastness, and overall aesthetic to match your climate and design preferences.
Where to Find Replacement Fabric for Your DIY Patio Sling Upgrade
Finding the right replacement fabric for your DIY Patio Sling Upgrade is easier than ever. Specialized online retailers are a great resource, offering a wide array of colors, patterns, and material types. These suppliers often provide detailed specifications about their fabrics, helping you make an informed decision.
Additionally, some large home improvement stores and outdoor fabric suppliers carry suitable materials. It is always a good idea to request fabric samples to see how they look in your outdoor space and to test their texture and durability. Many companies also offer complete patio sling replacement kits, which can simplify the process by providing pre-cut fabric and necessary hardware.
Step-by-Step Guide: How to Perform a DIY Patio Sling Upgrade
Performing a DIY Patio Sling Upgrade is a systematic process that, when followed carefully, yields professional-looking results. Whether you are re-slinging a patio dining chair or a lounge chaise, the fundamental steps remain consistent. Patience and precision are your best allies.
Start by laying your chair on a clean, flat surface to ensure stability. This will make it easier to access all the necessary components and prevent any damage to your frame or new fabric. Always work in a well-lit area to clearly see all details.
Accurate Measurement for Your DIY Patio Sling Upgrade
Accurate measurement is the most critical step for a successful DIY Patio Sling Upgrade. First, remove the old sling by unscrewing the rails that hold it in place. Carefully lay the old fabric flat and measure its length and width. This provides a good starting point for your new material.
If the old fabric is stretched or damaged beyond accurate measurement, measure the chair frame itself. Measure the internal length between the top and bottom sling rails, and the width between the side rails. Always add a few inches to the width for spline insertion and tension. For detailed guidance, Patio Chair Slings Guide offers comprehensive resources on precise measuring techniques.
Removing the Old Sling and Preparing for Your DIY Patio Sling Upgrade
Once you have your measurements, the next step in your DIY Patio Sling Upgrade is to remove the old sling. Begin by unscrewing the bolts that secure the sling rails to the chair frame. These are typically located at the top and bottom of the chair. Keep all hardware organized, as you will reuse it.
Carefully slide the old fabric out of the rails. This might require some effort if the fabric is tightly wedged or if there is old spline material. Clean the sling rails thoroughly, removing any dirt, debris, or old spline pieces. This ensures a clean fit for your new fabric and prevents any snags or tears.
Installing Your New Sling: The Core of Your DIY Patio Sling Upgrade
With the frame prepared and your new fabric cut to size, it is time for the core of your DIY Patio Sling Upgrade: installing the new material. Fold the edges of your new fabric and insert the spline (a thin cord) into the channels of the sling rails. This creates a secure edge that will hold the fabric in place.
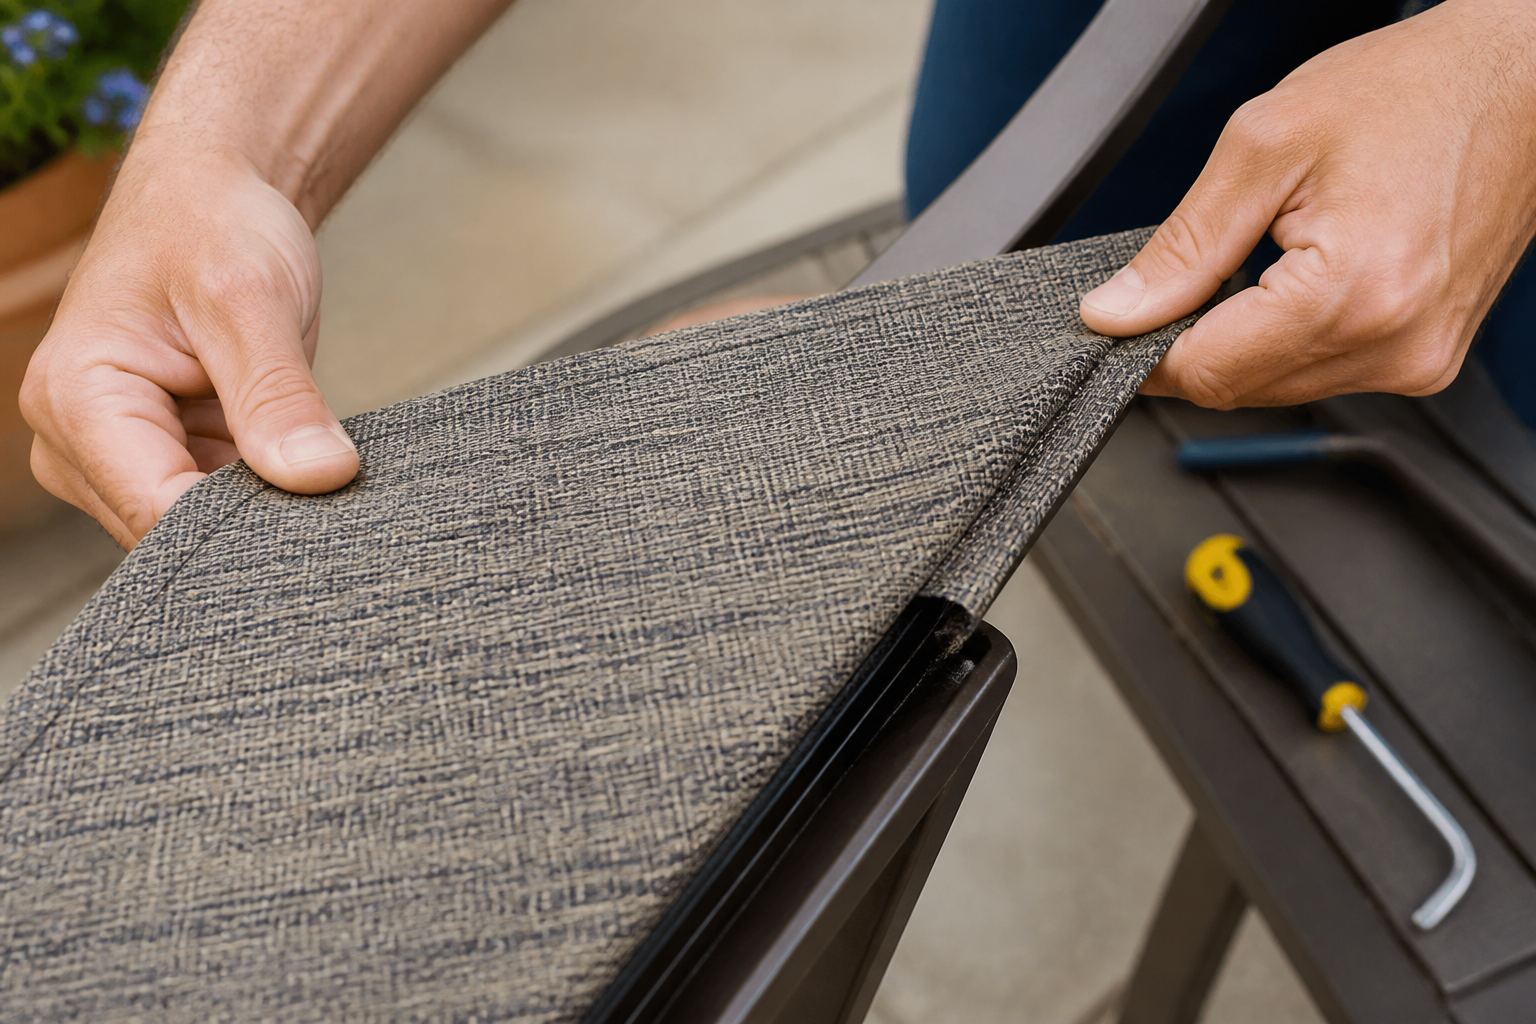
Carefully slide the new fabric, with the spline inserted, into the chair’s sling rails. This step often requires significant stretching to achieve the proper tension. You may need a sling tool or a helper to pull the fabric tautly before reattaching the rails to the chair frame. Ensure the fabric is centered and free of wrinkles before tightening all bolts.
Ready for Your DIY Patio Sling Upgrade?
Patio Chair Slings Guide offers comprehensive resources and practical guides to empower homeowners in restoring their patio sling chairs with confidence and achieving stunning results.
Common Challenges and Solutions in Your DIY Patio Sling Upgrade
While a DIY Patio Sling Upgrade is a rewarding project, you might encounter a few common problems. One frequent issue is difficulty stretching the new fabric tight enough. This can result in a saggy sling. To overcome this, try warming the fabric in the sun or using a specialized sling tool to apply more leverage.
Another challenge can be stripped screws or rusted bolts. If screws are stuck, apply penetrating oil and let it sit before attempting to remove them again. For stripped screw heads, consider using a screw extractor kit. Having extra hardware on hand, such as new bolts and nuts, can save you a trip to the store.
Ensuring the fabric is perfectly aligned and centered can also be tricky. Take your time during installation, making small adjustments as you go. It is often helpful to loosely attach all bolts first, then gradually tighten them while checking for alignment. Patience is key to achieving a professional finish.
Benefits of a DIY Patio Sling Upgrade: 7 Amazing Transformations
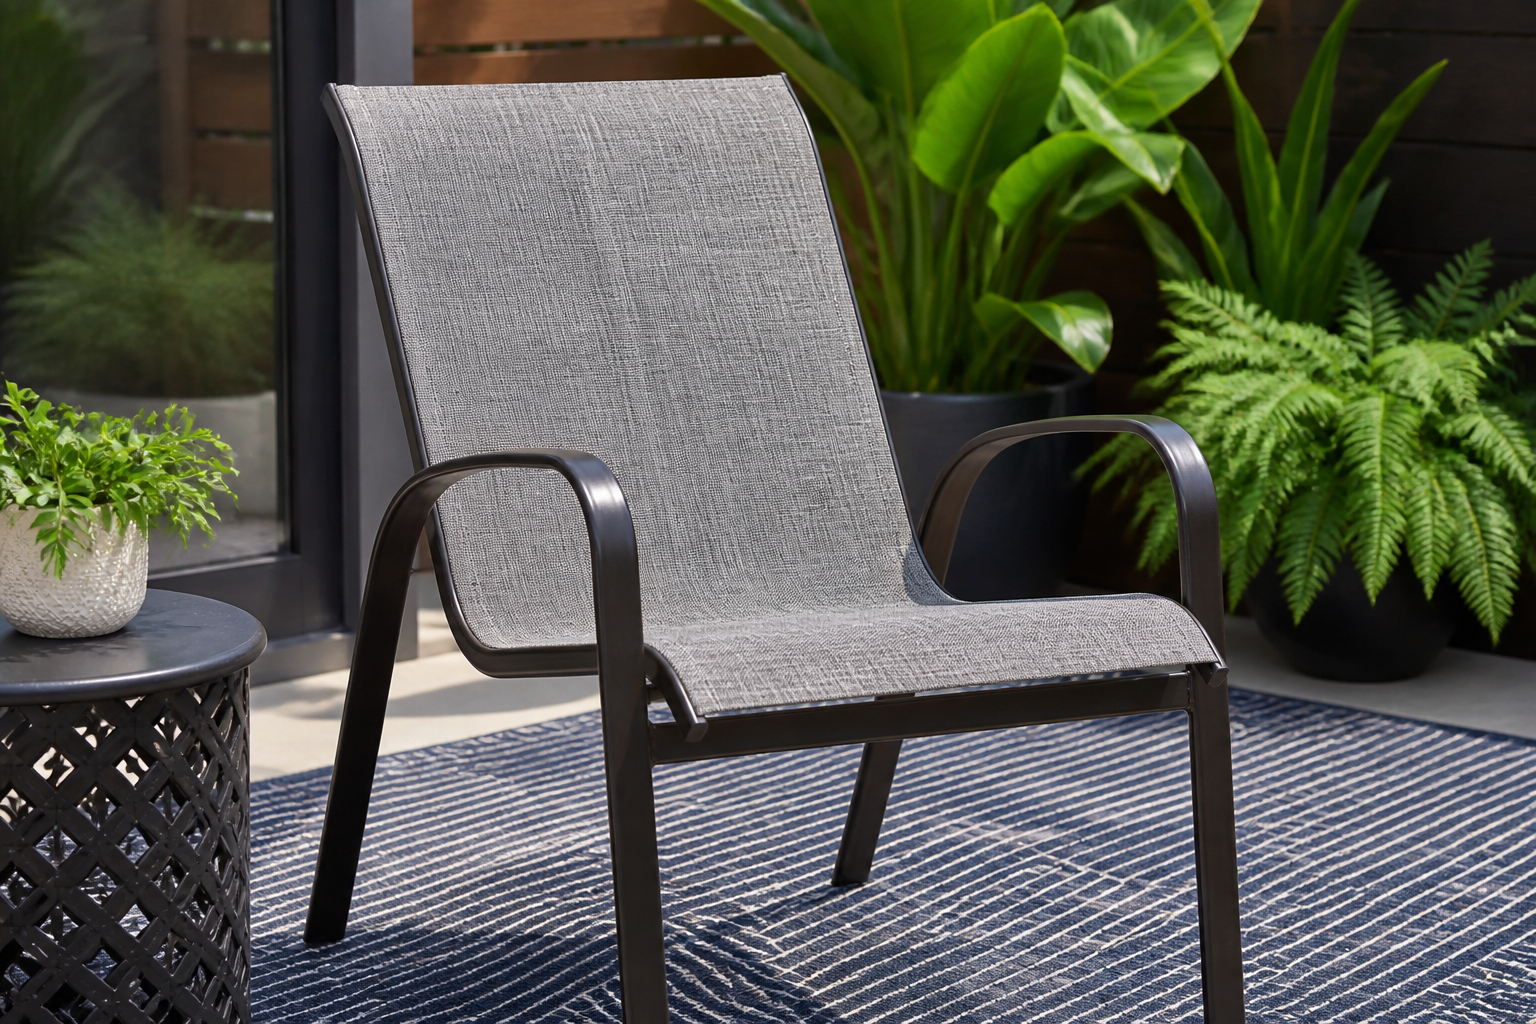
Embracing a DIY Patio Sling Upgrade offers a multitude of benefits, leading to truly amazing transformations for your outdoor living space. These upgrades go beyond mere aesthetics, impacting comfort, durability, and even your wallet. Here are seven compelling reasons to consider this project.
Cost-Effectiveness of a DIY Patio Sling Upgrade
One of the most significant advantages of a DIY Patio Sling Upgrade is the substantial cost savings. Replacing the fabric on your existing chairs is considerably less expensive than purchasing entirely new patio furniture sets. On average, you can expect to spend anywhere from $30 to $100 per chair on materials, which is a fraction of the cost of new chairs. This makes it a very economical solution for refreshing your outdoor space.
Customization and Style with Your DIY Patio Sling Upgrade
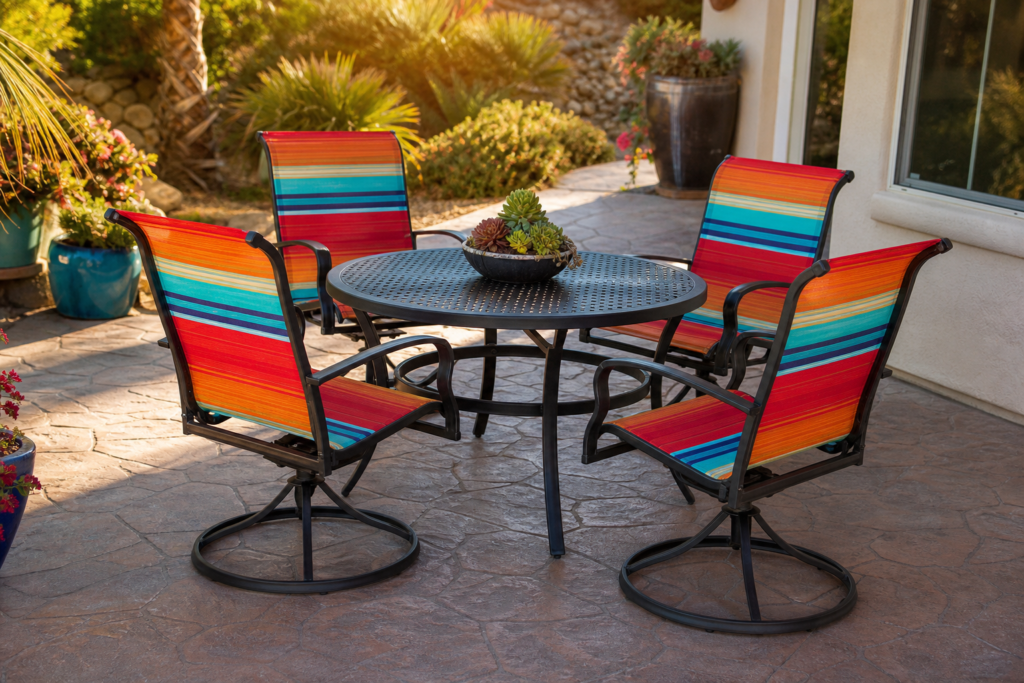
A sling upgrade allows for unparalleled customization. You can choose from a vast array of colors, patterns, and textures to perfectly match your personal style or outdoor decor theme. This level of design freedom means you are not limited by what is available in stores, allowing you to create a truly unique and personalized outdoor environment.
Extending Furniture Lifespan with a DIY Patio Sling Upgrade
By replacing only the worn-out fabric, you extend the life of your sturdy patio furniture frames. High-quality frames can last for decades, and a new sling ensures they remain functional and beautiful for many more years. This proactive maintenance prevents premature disposal and maximizes your initial investment.
Environmental Impact of a DIY Patio Sling Upgrade
Choosing to repair rather than replace is an environmentally conscious decision. A DIY Patio Sling Upgrade reduces waste by keeping old furniture out of landfills. It promotes sustainable living by encouraging reuse and reducing the demand for new manufacturing, which often consumes significant resources.
Beyond these, a sling upgrade can dramatically improve comfort, enhance durability with superior fabrics, and increase your home’s curb appeal. The sense of accomplishment from a successful DIY project is also a rewarding transformation in itself. Each of these aspects contributes to a more enjoyable and sustainable outdoor living experience.
Making Your DIY Patio Sling Upgrade a Success
To ensure your DIY Patio Sling Upgrade is a resounding success, consider these additional tips and resources. Preparation and access to information can significantly streamline your project and help you achieve the best possible results. A little extra planning goes a long way.
Time Commitment for a DIY Patio Sling Upgrade
The time required for a DIY Patio Sling Upgrade can vary depending on your experience level and the complexity of the chair design. On average, a single chair might take anywhere from 1 to 3 hours to complete. For multiple chairs, it is wise to set aside a full weekend or tackle one chair at a time to avoid fatigue and maintain precision. The more chairs you do, the faster you will become.
Finding Video Tutorials for Your DIY Patio Sling Upgrade
Visual aids can be incredibly helpful for a DIY Patio Sling Upgrade. Many online platforms, such as YouTube, host numerous video tutorials that walk you through the entire process. Searching for
Common Questions About Your DIY Patio Sling Upgrade
How do I replace the sling on a patio chair?
Replacing a patio chair sling involves several steps: first, remove the old sling by unscrewing the rails.
Next, carefully measure the frame and the old fabric to ensure you cut the new sling material to the correct dimensions. Then, insert the new fabric into the sling rails, ensuring it is taut and centered. Finally, reattach the rails to the chair frame, often requiring specialized tools to stretch the fabric tightly for a secure fit. Detailed guides are available on Patio Chair Slings Guide to walk you through each step.
What tools are required for a DIY patio sling upgrade?
For a successful DIY patio sling upgrade, you’ll typically need a few essential tools. These include a screwdriver or power drill for removing and reattaching screws, a measuring tape for precise fabric dimensions, a pair of sharp scissors or a utility knife for cutting fabric, and a rubber mallet to help guide the sling rails into place. Some projects might also benefit from a sling tool or clamp to assist in stretching the fabric tautly before final assembly.
Where can I buy replacement patio sling fabric?
Replacement patio sling fabric can be purchased from various sources. Specialized online retailers, outdoor fabric suppliers, and even some large home improvement stores carry a range of materials suitable for DIY patio sling upgrade projects. Look for fabrics specifically designed for outdoor use, such as PVC-coated polyester or vinyl mesh, known for their durability and weather resistance. Patio Chair Slings Guide also provides recommendations for reputable suppliers.
Is it difficult to replace patio chair slings myself?
While a DIY patio sling upgrade requires patience and attention to detail, it is generally considered a manageable project for most homeowners. The level of difficulty can vary depending on the chair’s design and your experience with similar repairs. Proper tools and clear instructions, like those found on Patio Chair Slings Guide, can significantly simplify the process and help you achieve professional-looking results.
Why should I upgrade my patio chair slings instead of buying new furniture?
Upgrading your patio chair slings is a cost-effective and environmentally friendly alternative to purchasing entirely new patio furniture. It allows you to extend the life of sturdy frames, refresh your outdoor aesthetic, and often results in a higher quality, custom-fit product than many mass-produced chairs. A DIY patio sling upgrade helps reduce waste and can save you a substantial amount of money.
What type of fabric is best for DIY patio sling replacement?
The best fabric for DIY patio sling replacement is typically a high-quality, weather-resistant material like PVC-coated polyester or vinyl mesh. These fabrics are designed to withstand UV rays, moisture, and general outdoor wear and tear, ensuring longevity and comfort. When choosing, consider factors like weave, colorfastness, and airflow to match your climate and aesthetic preferences, which are detailed further on Patio Chair Slings Guide.
How much does a DIY patio sling upgrade typically cost?
The cost of a DIY patio sling upgrade can vary significantly but is generally much lower than buying new furniture. It depends on the quality and type of replacement fabric chosen, the number of chairs you’re upgrading, and whether you need to purchase new tools. On average, you can expect to spend anywhere from $30 to $100 per chair on materials, making it a very economical solution for refreshing your outdoor space.
Are there complete patio sling replacement kits available for purchase?
Yes, many suppliers offer complete patio sling replacement kits. These kits typically include pre-cut fabric, new spline (the cord that secures the fabric into the rails), and sometimes even the necessary tools like a spline roller. These kits can simplify a DIY patio sling upgrade, ensuring you have all the components needed for a seamless replacement process.
How to measure for new patio chair sling material?
Accurate measurement is crucial for a successful DIY patio sling upgrade. To measure, remove the old fabric and lay it flat to measure its length and width. If the old fabric is too stretched or damaged, measure the chair frame’s internal length between the top and bottom sling rails, and the width between the side rails. Always add a few inches to the width for spline insertion and tension, as advised in detailed guides on Patio Chair Slings Guide.
Learn more from authoritative resources: Consumer Reports and HGTV.